Ultimate guide to Zion’s Emerald Pools: Kayenta Trail and Emerald Pools Trail
Navigating the Emerald Pools trails at Zion National Park can be confusing for first-time visitors.
In this guide, we’ll break down the two different ways to visit the Emerald Pools: the Kayenta Trail and the Lower Emerald Pool Trail.
Understanding the Emerald Pools Trail
Before we dive into the two routes to the Emerald Pools, it’s essential to understand the layout of the trail. The Emerald Pools consists of three distinct destinations:
- Lower Emerald Pool
- Middle Emerald Pools
- Upper Emerald Pools
Each of these destinations offers its own unique beauty and charm, making them all worth exploring if time and fitness allow.
Route 1: Lower Emerald Pool Trail from Shuttle Stop #5
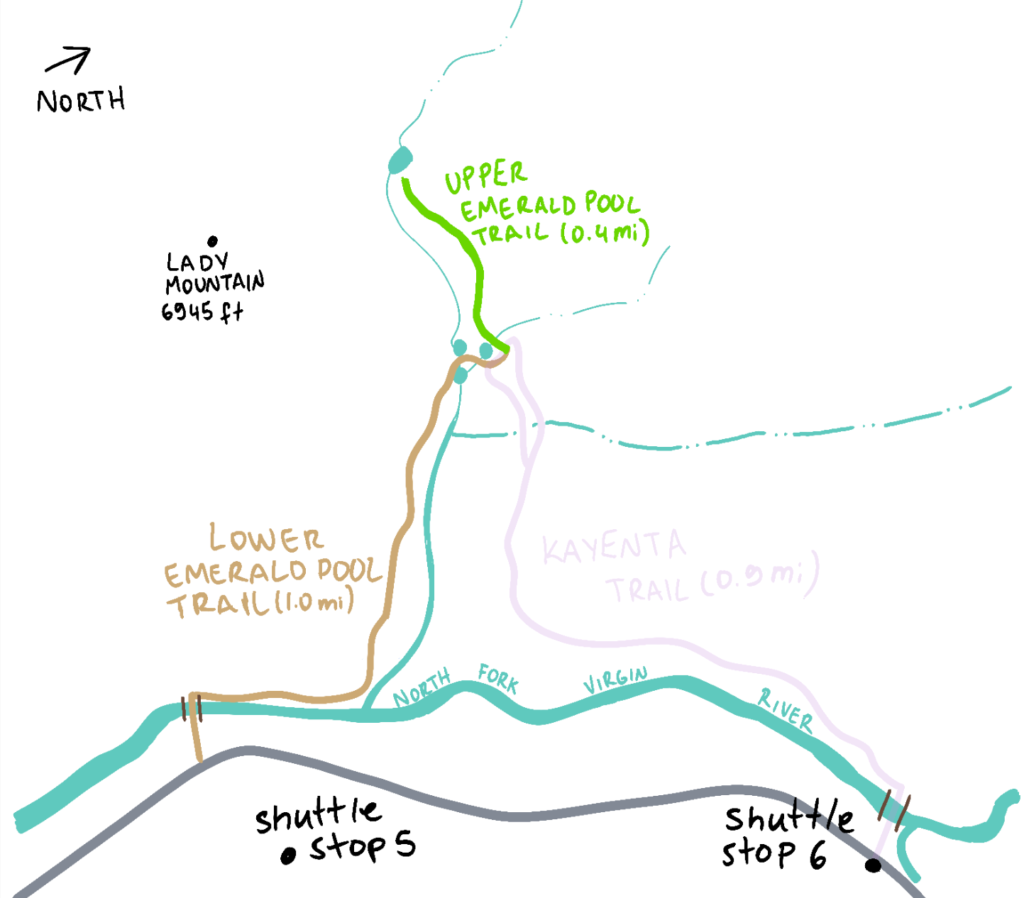
The first way to visit the Emerald Pools is by starting at Shuttle Stop Number 5. Here’s how to explore to this route:
- Exit the shuttle at Shuttle Stop #5 and cross the street and the bridge.
- Follow the Lower Emerald Pool Trail until you reach the Lower Emerald Pool.
- Continue hiking to reach the Middle Emerald Pools.
- Finally, take the Upper Emerald Trail to reach the Upper Emerald Pool.
This route allows you to see all three pools in sequence without much confusion, offering a comprehensive Emerald Pools experience.
Route 2: Kayenta Trail from Shuttle Stop #6
The second route option begins at Shuttle Stop #6 and offers a slightly different perspective. Here’s how to navigate this route:
- Exit the shuttle at Shuttle at Stop #6 and cross the street and bridge.
- Take the Kayenta Trail and then turn left onto the Lower Emerald Pool Trail once you see a sign pointing to “Lower Emerald Pool”
- Proceed to the Lower Emerald Pool, being mindful not to continue downward on the trail, as that trail will lead you to shuttle stop #5 as opposed to the Middle and Upper Emerald Pools.
- Once you’ve enjoyed the Lower Emerald Pool, retrace your steps back towards the Kayenta Trail.
- Look for signs directing you to the Upper Emerald Trail, and continue your hike to reach the Middle and Upper Emerald Pools.
My experience hiking the Kayenta Trail to Emerald Pools
Initial Confusion and Starting the Hike
When I visited Zion, the Lower Emerald Pool Trail was closed, so I had to take the Kayenta Trail to get to the Emerald Pools. Getting off at Shuttle Stop #6, I was initially lost. After asking around, I learned I needed to cross the street, cross the bridge, and start hiking up the Kayenta Trail.
First Impressions
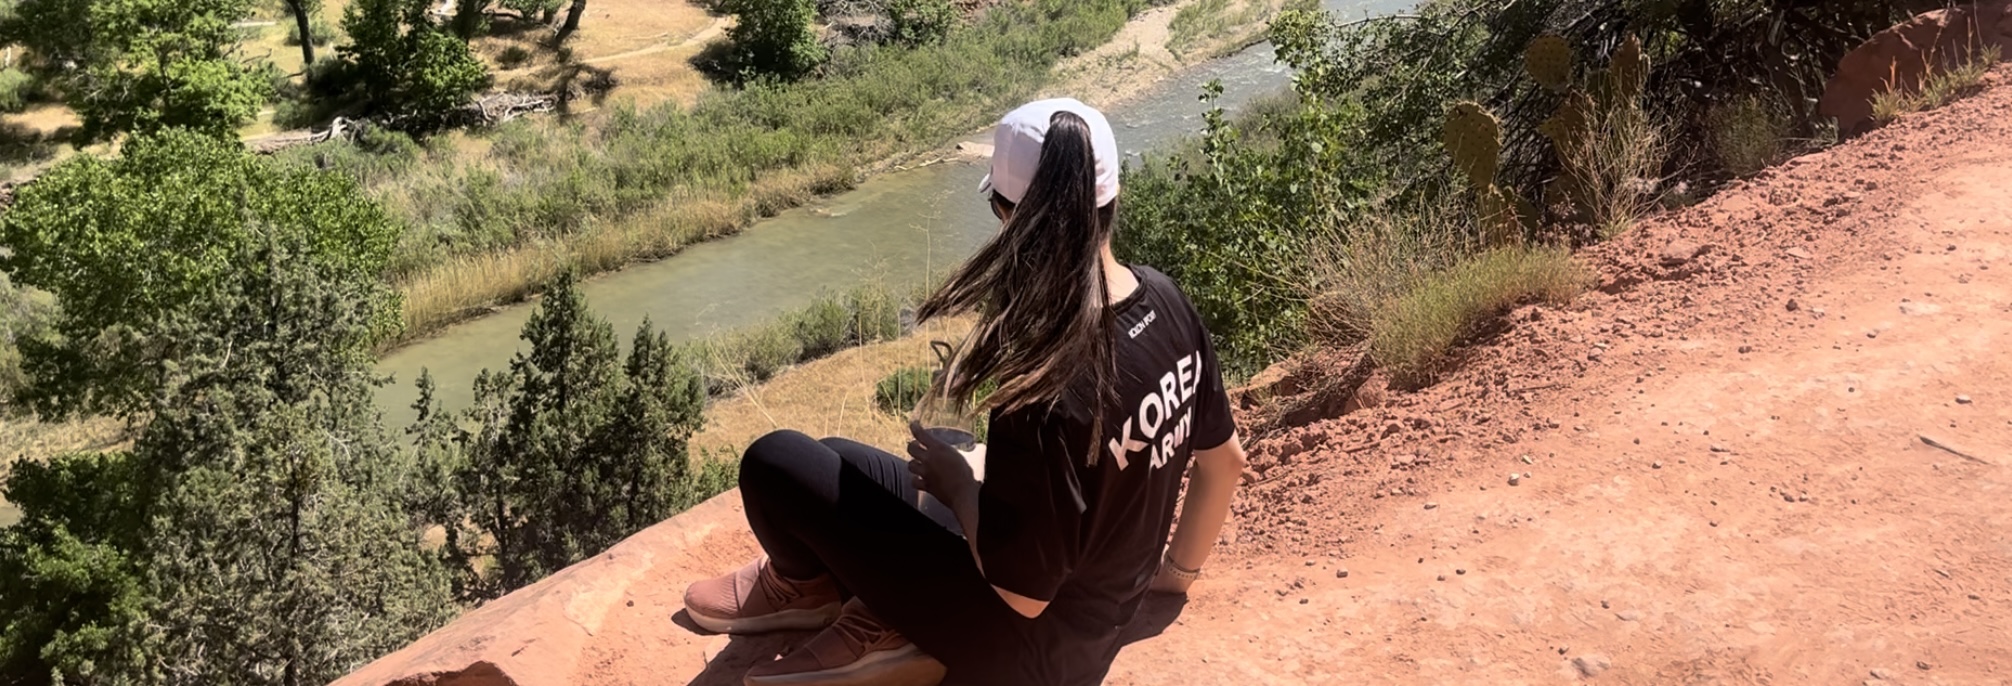
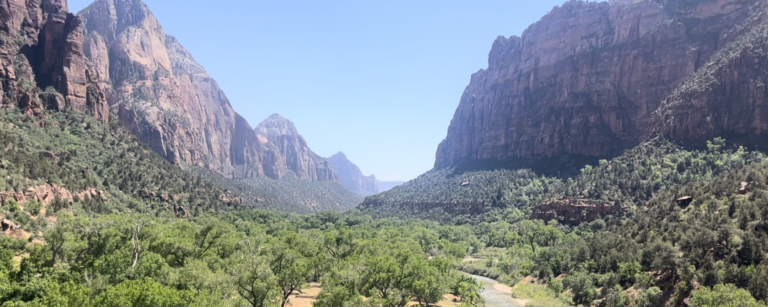
Starting on the Kayenta Trail, I was immediately impressed by the beautiful view of the river and canyons. The first 5-10 minutes of the Kayenta Trail provided some of the most stunning views I came across at Zion.
Lower Emerald Pool
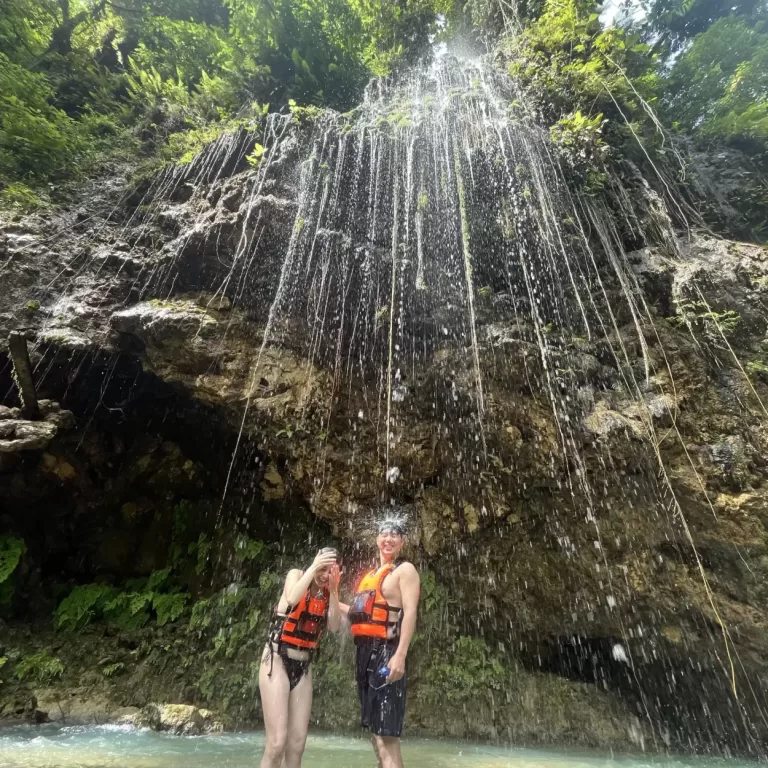
The first destination along the trail was the Lower Emerald Pool. A thin and tall waterfall was a unique and beautiful feature. Walking behind the waterfall was refreshing as I got a few splashes of water. However, the lower emerald pool was quite tiny, and the color did not remind me of emeralds at all.
Middle Emerald Pools
Turning around and heading towards the Upper Emerald Pool Trail, I passed through the Middle Emerald Pools. While the hike offered interesting views of the canyon, I couldn’t help but notice that the pools themselves were smaller than expected. At that point, I was tired and chose to sit down, eat a snack, and relax before continuing the hike up to the Upper Emerald Pool.
Upper Emerald Pool
The final stop on the journey was the Upper Emerald Pools. I was greeted by a breathtaking sight: a pristine pool of emerald-green water framed by the beautiful canyon. The tranquil atmosphere and stunning scenery made it the perfect place to relax and take in the beauty of nature. I laid down on rocks near the pool and stayed there for a long time, enjoying the view of the pool, the canyon, and fast-moving clouds in the sky.
The Hike Back
The way up was quite tiring for me, a non-hiker battling a persistent cold. However, the way back was bliss and only took about 40 minutes! The hike back down was much easier, and I felt a sense of accomplishment and peace.
Is going on the Emerald Pools Trail Worth It?
Visiting the Emerald Pools at Zion National Park is an unforgettable experience that allows you to immerse yourself in the beauty of nature. By following one of the two emerald pools trails outlined in this guide and keeping these tips in mind, you can make the most of your journey at Zion.
For a guide on how to visit Zion National Park, check our dedicated post linked here.
Don’t forget that temperatures inside Zion change a lot throughout the day, so bring the appropriate clothing!

